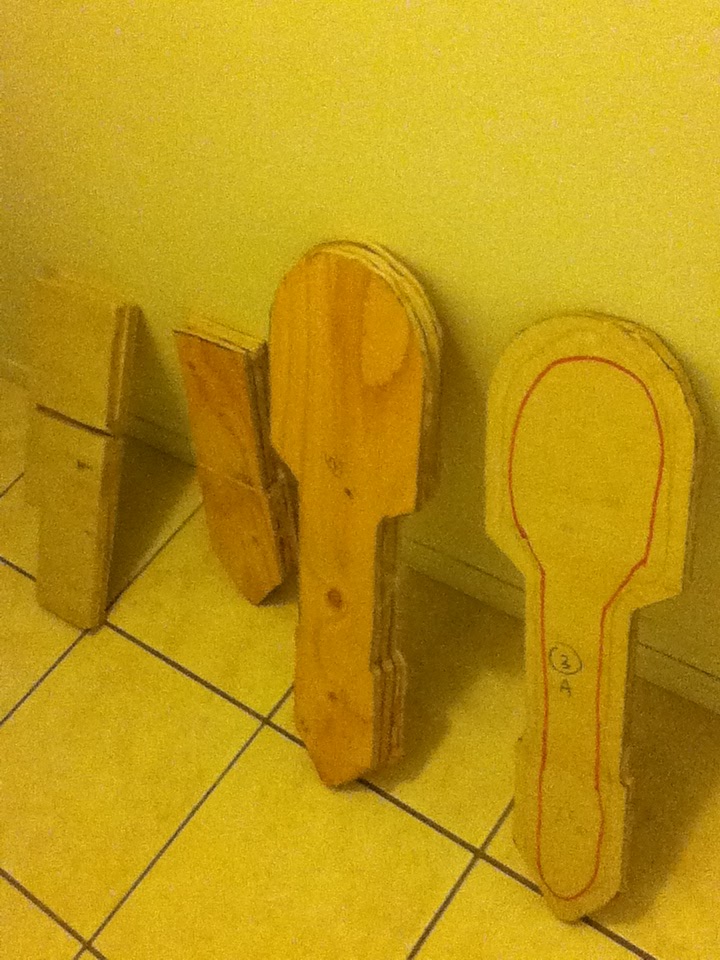
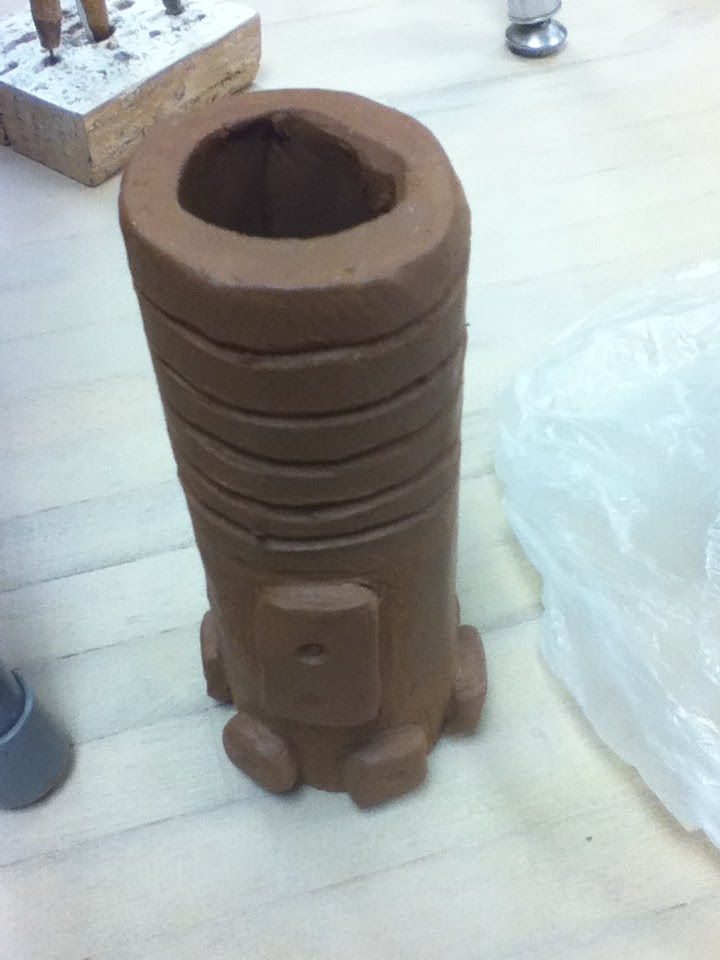
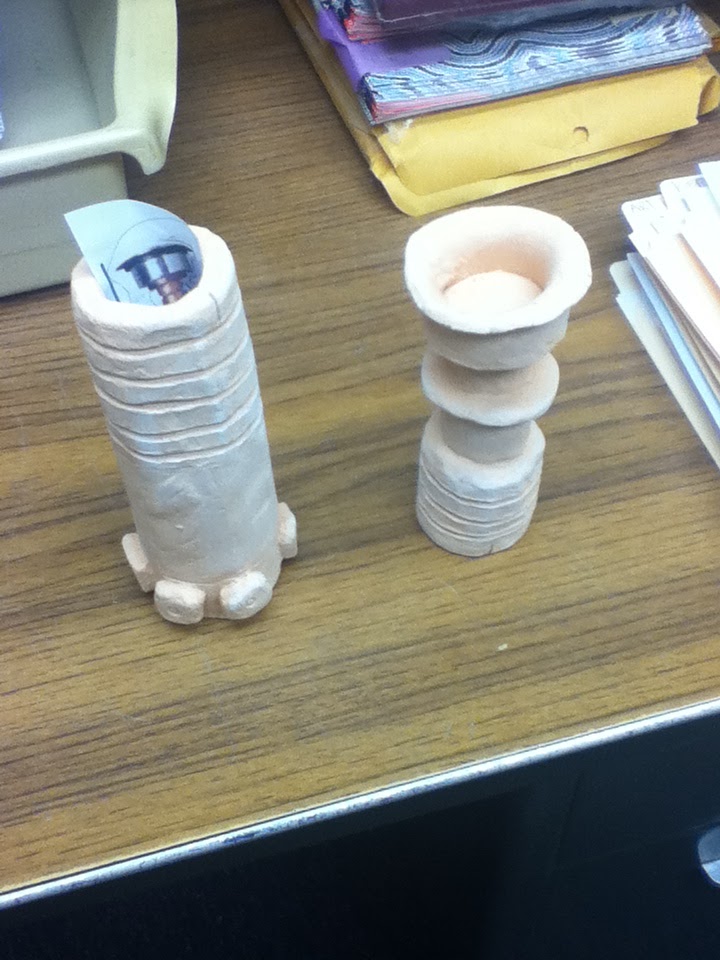
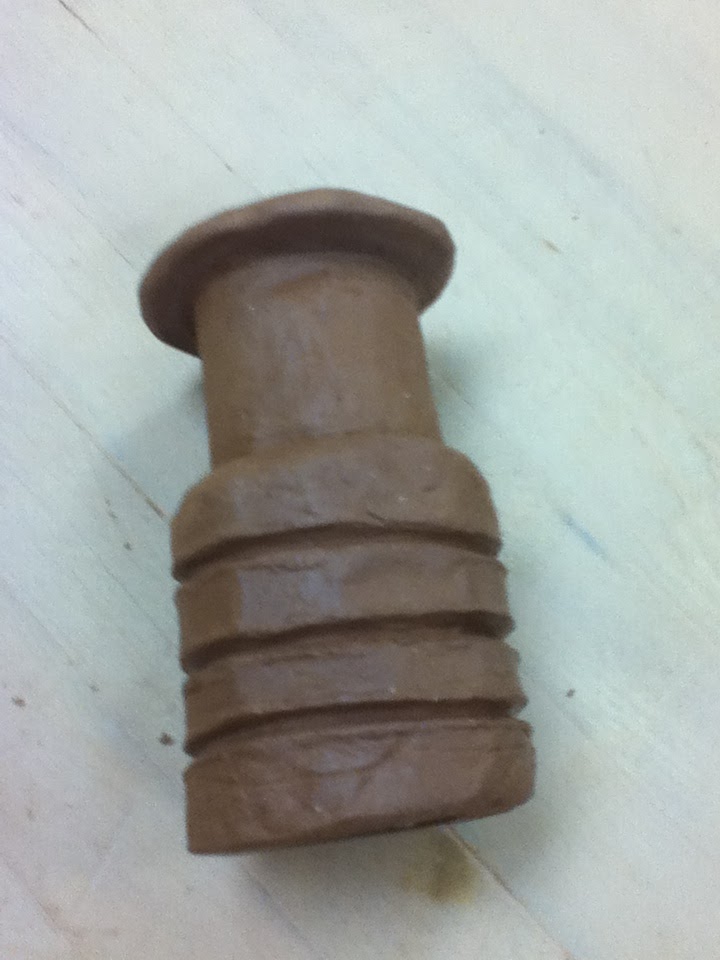
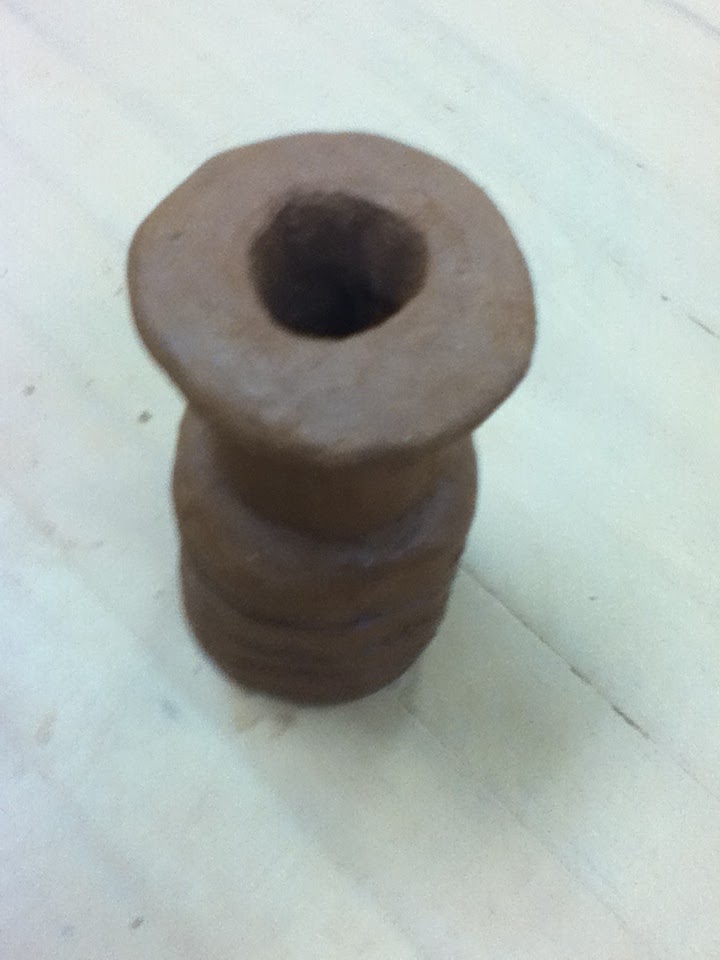
SO after days and weeks of being busy I finally started on my wooden legs, Not exactly like Victor's tutorial but close. Worked on it for about 4 hrs and got the ankles done, except for the tape-ease cylinders, and the center parts of the legs and center ankle. I still need to cut them open so when the legs are glued together there is space for wires to run through the legs to the feet motors.
Also cut out all the Senna frame paper pieces.

Pros- got what I did done, cutting the remaining layers should go smoothly:)
It wasn't as hard as I thought :):):)
I had fun, power tools are fun :p
NOTE: this is my third time using a jig saw in my life. I'm new at this...
Cons- I ding a few places, splintered a few places because the blade of the jig saw was the wrong kind ( too course) :(
The legs are not exactly identical:( but the difference is hardly noticeable :)
The clamps dug into my wood :(, but then I used a wood block so it wasn't a disaster :)
Today I learned...
-You can use a fine blade to route wood :), but it must be done carefully, like scraping almost. Can't really find the right words for it.
-Your back WILL HURT after doing this for 4 hrs :(
- clamps and heavy objects are your friend :)
-Jig saws are trickier than you think. I cut 16 circles with one once, didn't think it would be much different...I was wrong :(
Conclusion- A good day!! I even got to draw some wood frame pieces onto the wood!
pics below......


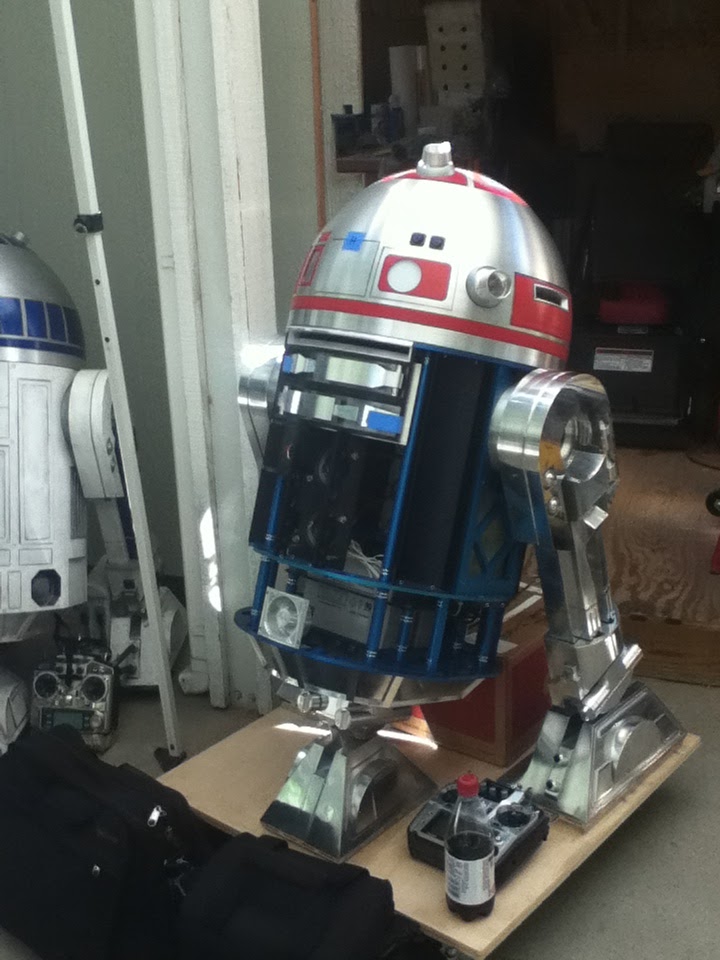
 ) and start on my dome!!!!!!!
  .
.